Okay, I’m in a particularly ‘willful’ mood today (John’s words, lol). AKA, I’m stubborn. I challenged John to search the house for odd objects, etc to see if I could figure out a way to make art with them. The rules? No edible/perishable (don’t want bugs, mold, disintegration).
Your challenge: Look around your home/office and find common (or not so common) items and share them here. Let’s see if there’s a way to make art with them!
Try this! Repurposing is fun and easy!
HOT GLUE GUN ART

Mr. Smarty-Pants threw this at me. It was an old canvas with tears, stains, and blotches- and thick lines of permanent marker. I was messing around, but he likes it (go figure).

STEP BY STEP (Anyone can do this- but supervision is necessary for younger kids)- Make sure you check out the painting options!
SUPPLIES:
- Hot glue gun and LOTS of sticks (perfect use for old, discolored glue sticks)
- Canvas (anything you want to use- old pictures from thrift stores, slabs of wood, a beaten up tray, glass/mirrors)
- Gesso (white)= this is the background that lets everything stick together
- Acrylic paints- Black and a metallic (I used golds/copper/bronze) and accents of anything you want (I used turquoise/blue/green)
- Water (in container or a couple of spray bottles)
- Clean up rags/paper towels
- Pencil
PAINTING OPTIONS
- Old/cheap paintbrushes- these are, literally, to slap on gesso/paint- so bigger is better!
- Disposable gloves- when was the last time your finger painted?
- Leaves/sticks/plastic wrap/rags/old socks- I think you’re getting the point. Please protect your hands if you use these- rewashable kitchen gloves work great.
READY? Let’s go!
- Prep your surface by slapping gesso paint over it. Gesso’s cool because it will stick to any surface AND you can texture it. How? After spreading out the gesso, blot it with wadded up plastic wrap, sponges, leaves/sticks… heck, you can even leave these things in it for more interest!
- LET DRY (I hate this part). Because I’m so impatient, I often gesso several surfaces at once so I can just play later.
- PLAY TIME! Plug in your glue gun. While it’s heating, make a quick pencil
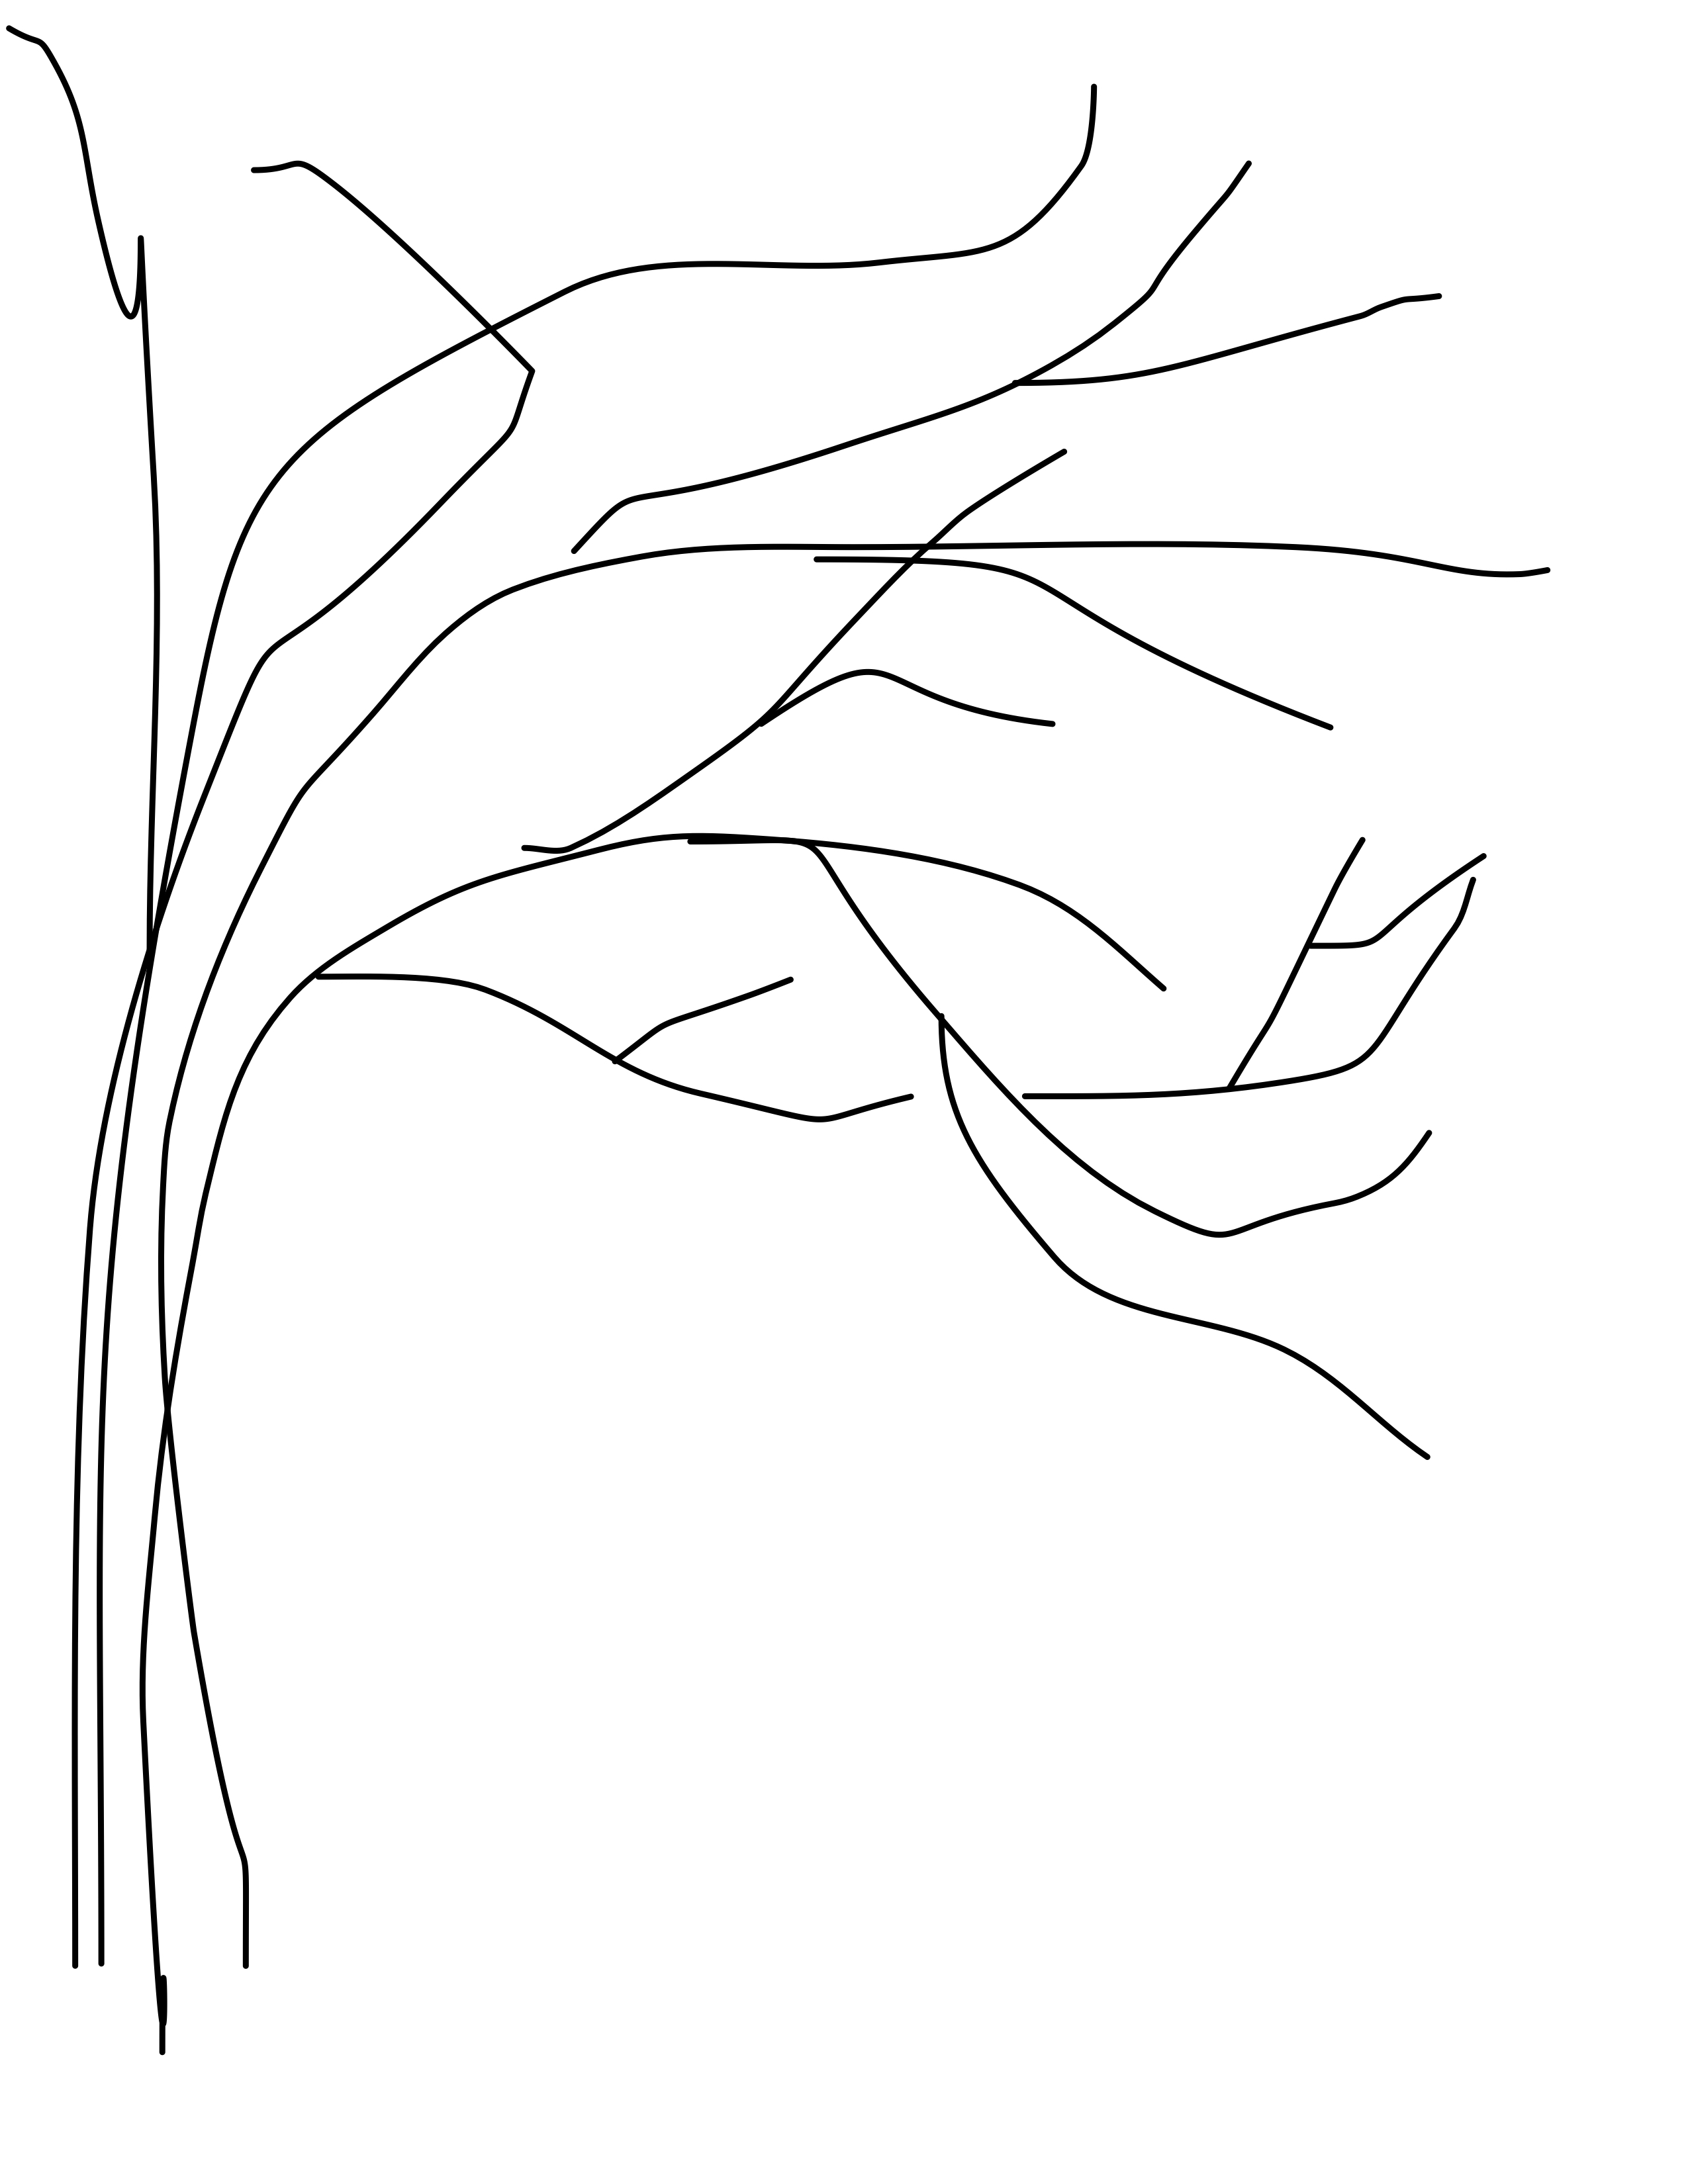 sketch of the general image. In the case of the tree, it was just a basic skeleton and very organic.
- Once the glue is dripping from the gun, loosely follow the outline, and then start building! The more glue, dips, peaks/valleys- the more 3D this your painting becomes. Play with the height, squiggle, lines, blobs. You CAN’T make a mistake! Glue strings? Tweezers are great to pull these off after they dry. your carpet if you’re doing this on the floor and remember- hot glue guns can burn, so be careful!
- Whew! You’re either satisfied or, if you’re like me, you ran out of glue. Take a break for a snack or coffee to let the glue cool off.
- Gesso again! Slap it on however you want- make sure to cover all the glue (this is where I use disposable gloves). The gesso with allow your paint to stick to the glue, plus gives more awesome texture.
- Let Dry. Growl.
- PAINT! Start with the metallic and cover the entire tree. Go outside the lines, too (I do the entire picture). The magic we do next really shines.
- In a cup or little spray bottle, mix the black paint with water. I start fairly light at about 3 parts water to 1 part paint. You’re making a wash that will give the ILLUSION of shadows and secret places.
- Apply the wash: Read through this section so you can experiment. The longer the wash stays on the canvas, the darker it gets. There are several ways to apply the wash.
- Method 1 : brush/spray/light pour the wash over the entire painting. Swirl it around and stand the painting up to let the excess drain. Dab the high points/open part of the canvas with a rag/paper towel.
- Method 2: Using a thicker mix (50/50)- apply over canvas, then quickly wipe away. Use a spray bottle of clean water to thin/lighten areas (you can always put in more)
- Method 3: Use damp sponge to dab straight paint into sections and wipe each step. This wastes a lot of paint, but the results are very dramatic. (I used it in the fish picture)
11. Let Dry. Growl again.
12. Accents: This is totally up to you. By adding colors of emerald green, combat blues, and magenta, you can get anywhere from a patina appearance (like an old penny that’s turned green after being outside) to a metal braising (when copper’s exposed to heat). Use the same technique as applying the wash and..
13. Let Dry. Pft.
14. Finishing touches: Add extra highlights of paints if you want. If you’re using a cheap, stretched canvas, paint the edges to give it a framed/finished appearance. Oh- and if you don’t like the colors? Gesso over it and try again! Just make sure to let it dry!
15. SHARE! I’m going to experiment using alcohol inks and embedded leaves, feathers, etc.
I hope you enjoyed this lesson! Let me know what you think and if there are other things you’d like to learn.